Saturday, June 09, 2007

The Deck - Phase I

You may remember that we put a door in the back of the house where a bedroom window was originally. That necessitated building a porch to get down to the ground about four feet below. This seemed satisfactory for a year or so. And then the bride got the itch. "I want a deck," she said. So we started to dismantle the railings on the porch...
(don't forget you can click on the pics to make them bigger.)

...began to frame up a deck...


...and started laying the flooring. I decided to lay the flooring on a 45 degree angle so that it wouldn't look so much like an afterthought as it transitioned from the old porch structure. I think once it's all stained the same color it will look like it was always there.


Next step was to trim off all the uneven boards and start on the railing.

The bride picked out the style of railing she wanted, and it was up to me to figure out how to make it work...


I think it looks pretty good.

Now it's time to relax...

Uh oh, the bride has informed me that this is phase I of the deck construction. Phase II will be a lower level deck... sheesh, it never ends. Stay tuned.

Thursday, March 01, 2007

Saturday, February 10, 2007

The den in our house was remuddled sometime in the seventies. Which left us with a legacy of avocado green shag carpet and this lovely brick fireplace with the wormy wood mantle.


Recently, a friend salvaged a terrific Victorian mantle from an old house they were tearing down in a nearby town, and I acquired it from her. So we began the demolition of the old mantle to make room for the new.


First, I had to cut the supporting bricks from each side of the mantle with a chisel.


Then, I had to saw off the old slab board as flush as I possibly could with my reciprocating saw. This turned out to be a bone jarring experience and painfully tiring to boot.


After which I was left with a roughly cut board that wasn't quite flush with the bricks it was embedded in.


So, I cleaned up the rest with a wood chisel. It made a big mess, but got the job done. I'm certain that at least nine of you out there are thinking of easier ways I could have done this, but it's too late. You should have said something sooner.


Then, I covered the corners with 1x6's which I routered a bead across the top to look a little more finished.


The bride caulked up all the seams and nail holes, and we're ready to prime and paint. Remember, clicky the pictures to get a closer look.


Saturday, June 10, 2006

Shop Matters

When we moved in, we pretty much just stuck all of the tools in the shop, figuring we'd organize it later. Well, it's been two years and we've got the house fairly liveable so I guess now is later.

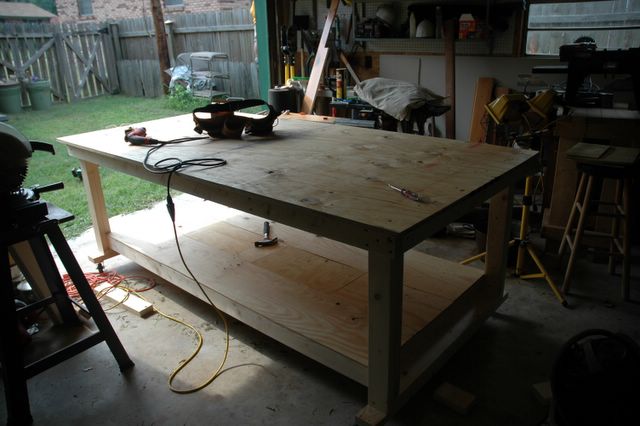
My first project is a work table. Recently, I had the privilege of getting to work with some real cabinet makers, and I really like the work tables in their shop. I mentioned that would be my next project and Rick told me that I should consider leaving a one and one half inch lip around the top to clamp things. So, I framed up this table today. It's on casters so I can roll it into place and lock them down.

Tomorrow, my friend Bill is going to take me to get a sheet of plywood for the top. (remember, click on the pictures to make them bigger...)


table sans top

And, after the plywood is delivered, the table with top...

Sunday, April 09, 2006

Floor Nailer - The Circle Is Complete

When I started looking for a floor nailer last year to do the tongue and groove flooring in my house, I checked the tool websites and got the prices for new -- wow!

So, I went to eBay to look at used ones. I found the Porter Cable nailer listed several times on eBay, one of the more common ones, and decided to do my due diligence and research what folks thought of it. I've been happy with the brad nailer I bought from Porter Cable, and this floor nailer got good reviews too. So, I was going to go back and do the "buy it now" on the $400 version. Except that during my research I found Coastal Tool dot com who had it for sale at $380. So, I figure I would email the seller on eBay, inform him that you can get them brand new for $380 and see if he would take less.

But before I could get back, it had sold. A quick search of completed items revealed that more than eight of them had sold in the last couple of weeks for $400 or more.

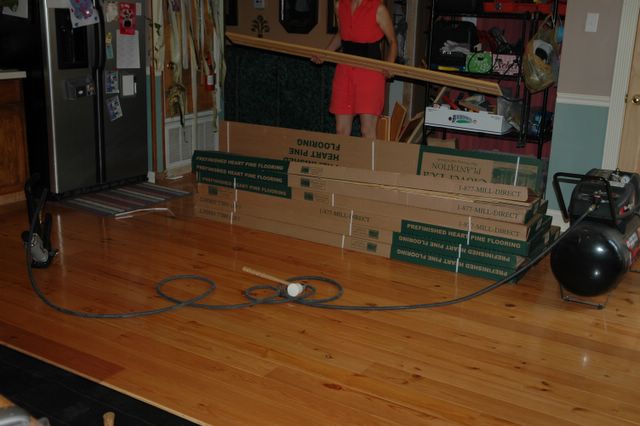
I ordered the nailer from Coastal Tool. It arrived several days later, as promised, worked beautifully, and we proceeded to install our entire house in 3/4" heart pine floor over a period of several months. (we had to tear out the old floor first.)

So, having completed the floor, I put my nailer out on eBay. And, within a few days I had an email from a potential buyer telling me that you can buy them brand new for $380 and offering me $300. I got another offer for $330 a day later. I said thanks but no thanks to both of them and watched. And, lo and behold, it sold today for $395.00. Of course, I threw in all the leftover nails I had to sweeten the deal.

I hope the guy that bought it from me does the same thing when he's done with it! Just don't take any low-ball offers, dude.

Tuesday, March 28, 2006

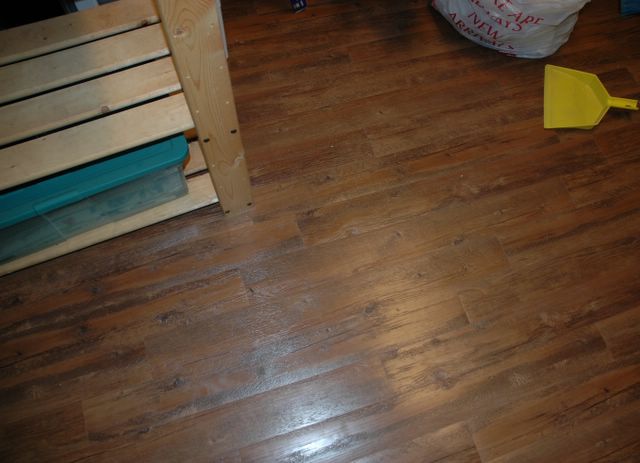
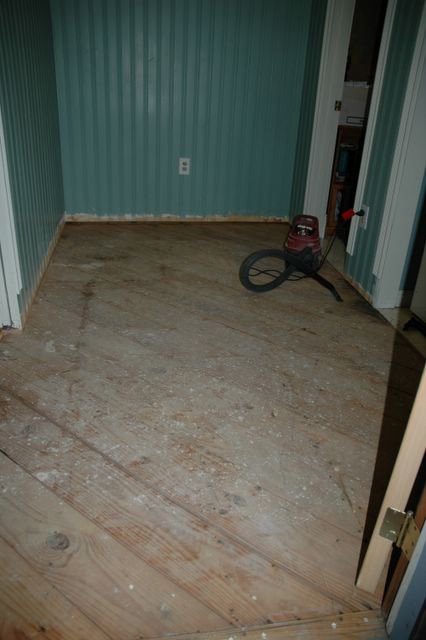
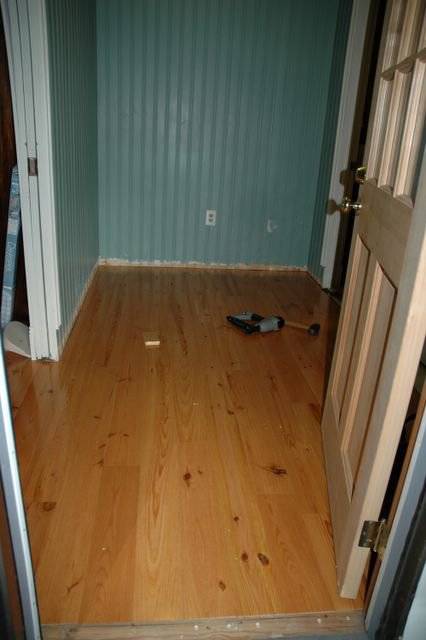
Craft Room Floor

Not much new to show, but the little bride put new floor down in her craft room. I think it turned out pretty good for twenty-five cents a square foot...


Sunday, March 12, 2006

Book Case

I know that we've not updated in quite some time. Friends have pointed this out to me. Well, the one that checks up on this mess, anyway.
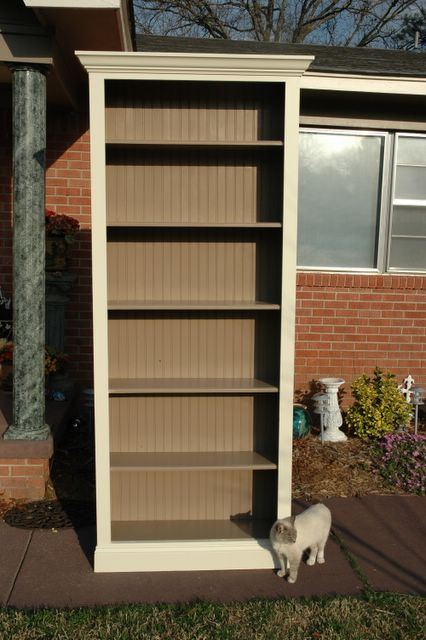
Truth is, we took the winter off, and now that it's warmer and staying light longer, we are looking at starting a few projects. The first one, since I think November, is this bookcase. I started it last Tuesday night, cut out the shelves and routered the edges, and got the basic form put together.


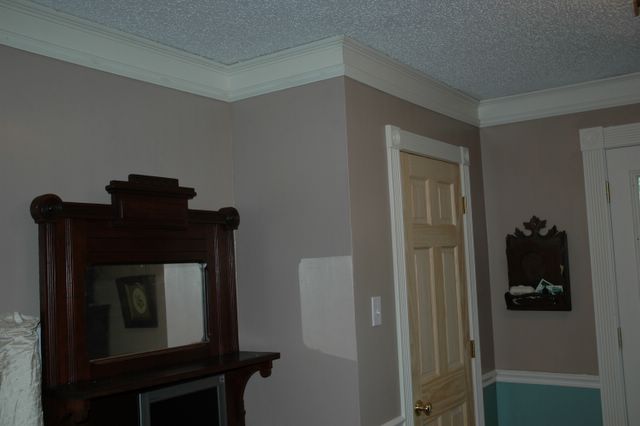
Trimmed it out and started painting it on Saturday. I have to admit, I was a bit worried about getting the crown molding right, but am very pleased with how it turned out.


Finished painting it today. It's ready to install in my office.


Sunday, November 06, 2005

Laundry Room Floor

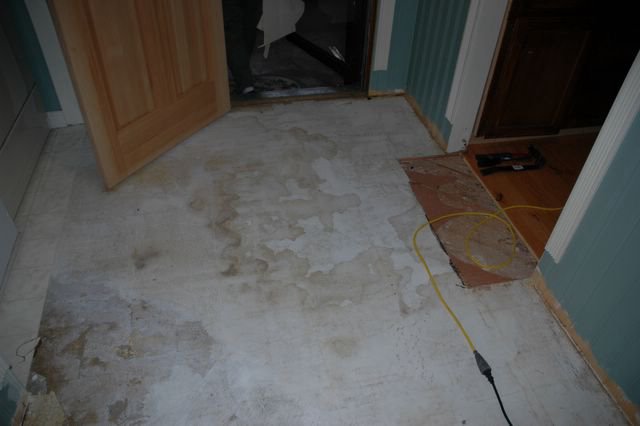
We finally got around to yanking out the floor in the laundry room. Kind of a necessity to keep the flow of the kitchen from looking too chopped up. At this point we have drawn the line (literally) at the area under the washer and dryer and in the little half bath. They will stay vinyl roll flooring for the time being.

We started out Saturday morning, pulled all the baseboards and started cutting the edges with the Crane toe-kick saw. I'm getting pretty good with this thing and it's not nearly as intimidating as it once was. What a lifesaver...


We had already cut a chunk at the doorway to fit the last board from the kitchen into the treshold. There's a pocket door between the two rooms.

Got everything stripped and pried up down to the sub floor and swept in preparation for the construction felt and new floor.

Layed the new floor...

...and re-installed the baseboards and trim.

I need to put in a new threshold under the back door and a couple of binder strips of oak at the transitions and then it will be complete.

Sunday, October 30, 2005

Immortality 2005

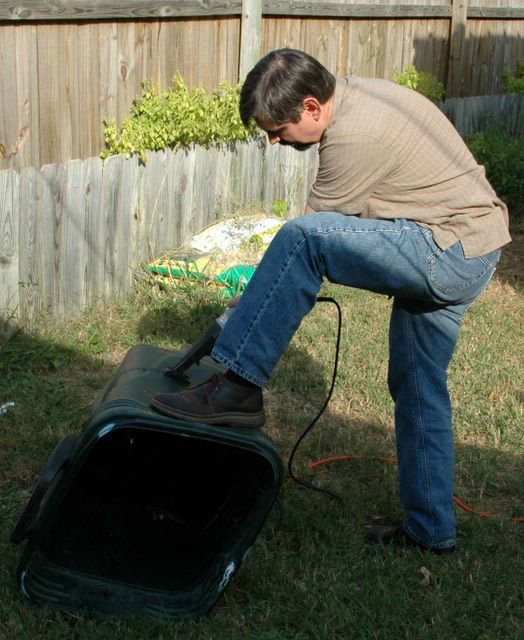
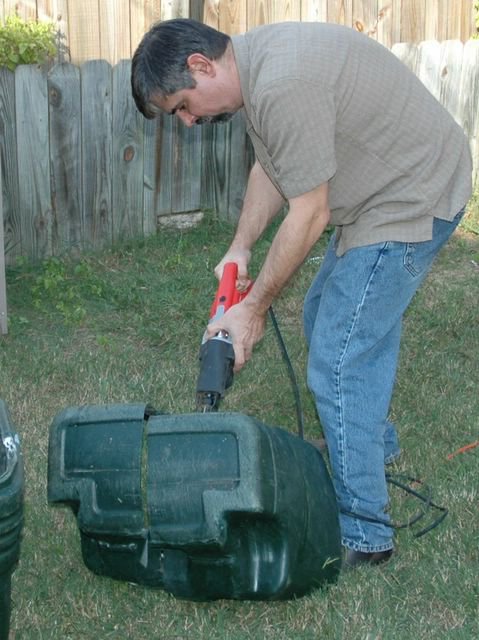
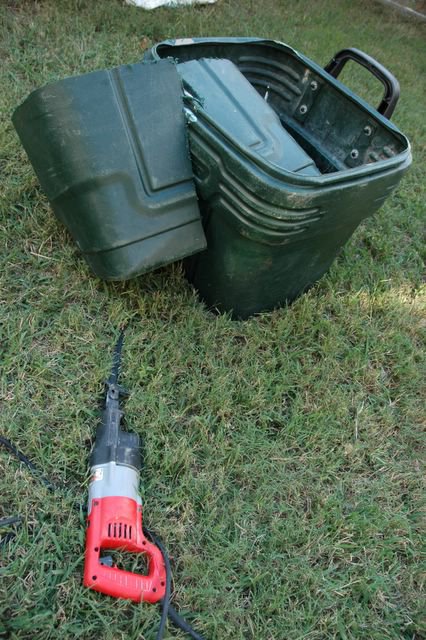
About a year ago, I posted about the immortality of garbage cans. And, how the only two ways I could figure to get rid of one was to leave it when you move (a good idea) or to take a reciprocating saw and cut it up into pieces for the garbage man sanitation department. (a little more difficult, but if you ain't movin'...)

Today, I finally got around to it.


Sunday, September 18, 2005

Learning to Cope...

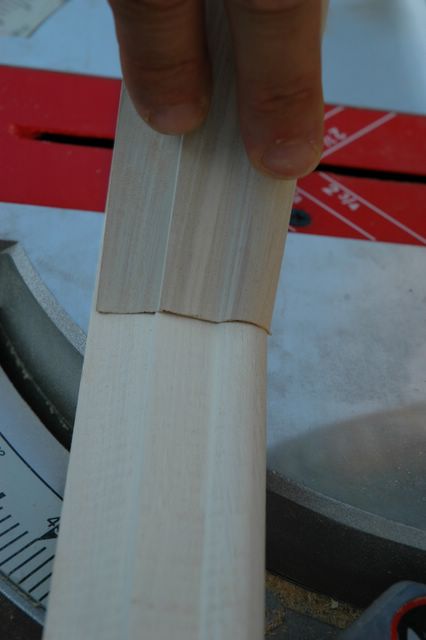
When we moved into the house, there was small, and I mean really small, crown molding through most of the house. Since we've always liked having picture rail moldings to hang our pictures from, the bride came up with the idea of adding the picture rail below the small crown leaving about a 2 1/2 inch space and then painting the whole thing to look like one piece of molding. It came out surprisingly well...


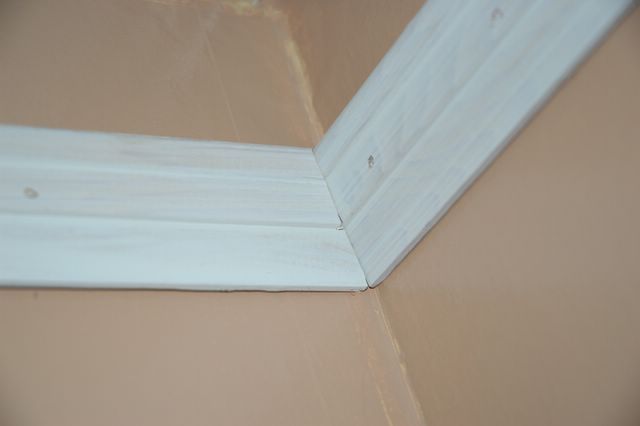
It's been kind of a challenge to cope the inside corners and miter the outside ones with the picture molding and also filling in the missing crown molding in the new added house parts. But I think I'm kind of getting the hang of it.


Once on the wall, it fits!


Which is a surprise, because I have a bad habit of cutting things a little too long the first time and then cutting them too short when I take them back to adjust them...

Wednesday, September 14, 2005

Where we been????

Well, we arrived at the point where we need to finish up detail work before we start on any more major projects. At least that's my point and I'm going to press it.

We've been filling nail holes, caulking seams, painting, putting gliders on the bottom of chair legs and finishing up trim work.

I'll post some pics when we've made enough progress to be interesting...

Monday, September 05, 2005

Floor Show

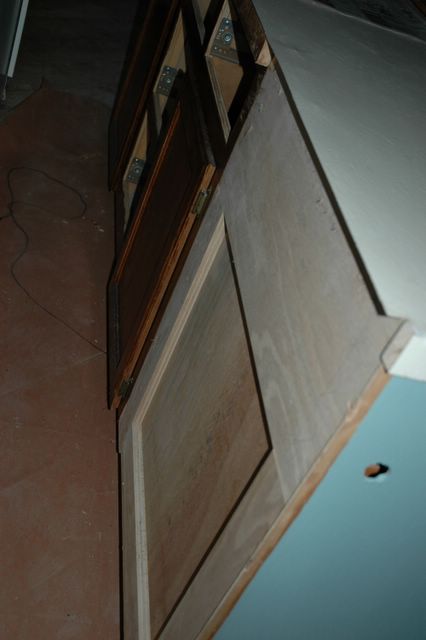
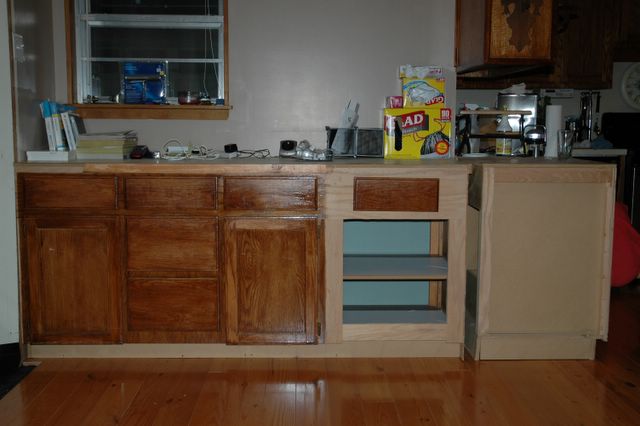
Since we're re-using a run of cabinets, that were between the kitchen and dining room, against the wall we found that some of the features of a double sided cabinet don't work so well in this application. Like the row of drawers and doors that ends in a blank cabinet back...


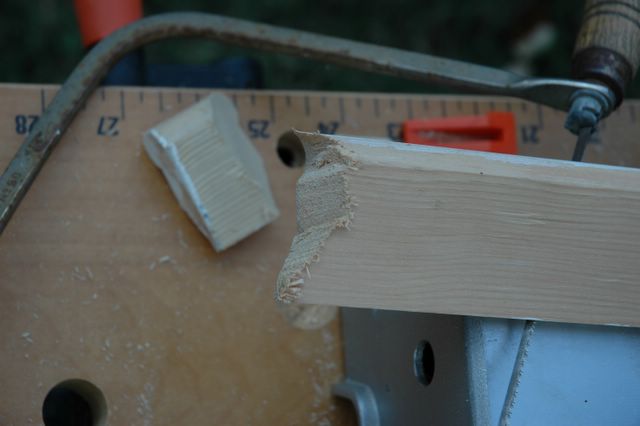
So, my little bride told me I needed to do something about that. And, that I needed to do something about it before we laid floor. So, I bent a couple of jigsaw blades and cut out a the blank side to make a drawer and a cabinet door opening...

Now, I told the bride that my cabinet skills are like really terrible and that she had a 50% chance or less of getting something decent out of it. As it is, the drawer turned out a teeny bit crooked, but I'm going to live with it. Yes, I am.

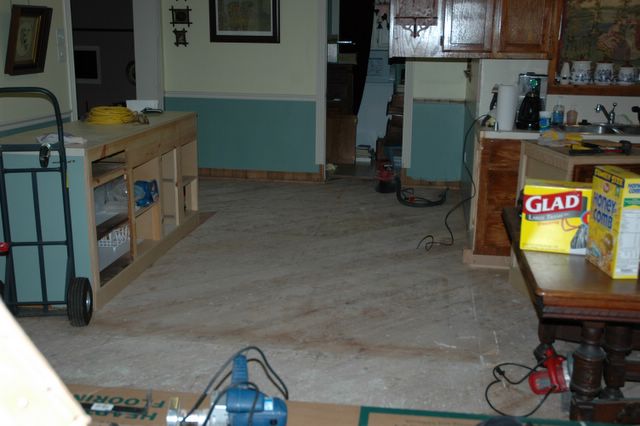
We started in laying floor, jockying loose cabinetry and kitchen tables,


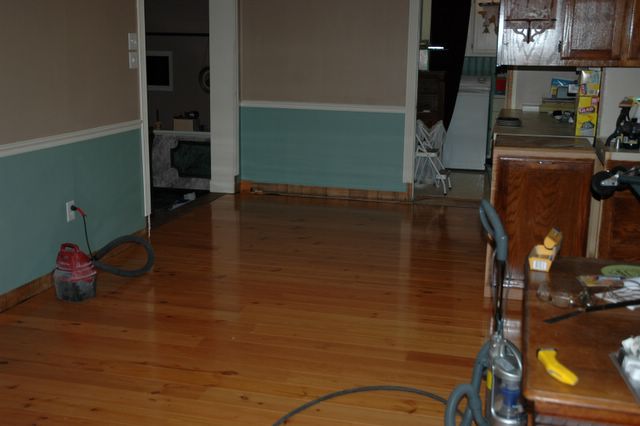
...and, I must say, the results are very pleasing...

Sunday, September 04, 2005

Treading the Boards

At son2's birthday party today, his grandparents invited him to come spend the night with them. Son1 was long gone to do things teenagers do. We were left completely alone. You know what that means, right?

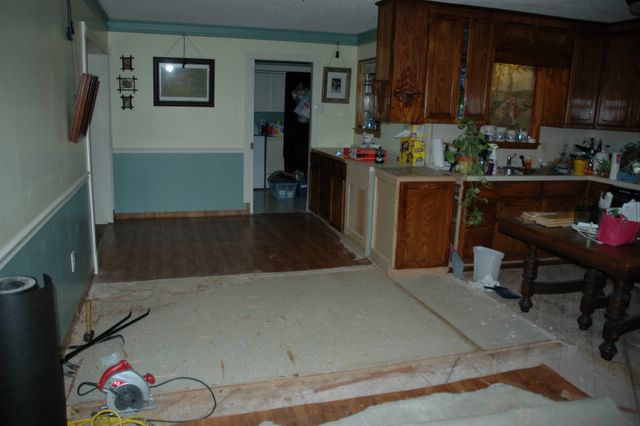
Right. We took up the rest of the floor in the kitchen and got it cleaned up in preparation for laying floor tomorrow...


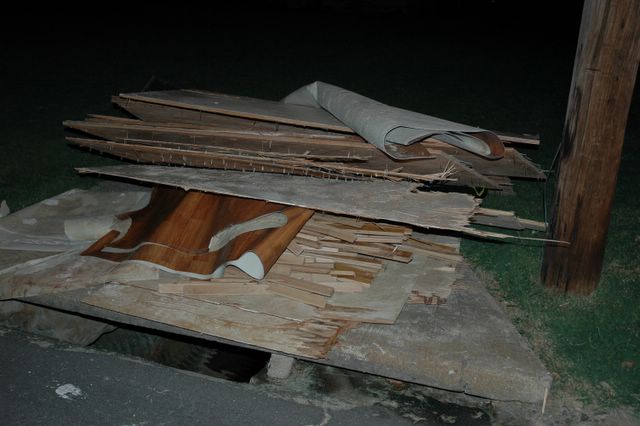
Which, of course, will make us really popular with the trash people come Tuesday...

Saturday, September 03, 2005

Sub-Urban Archaeology

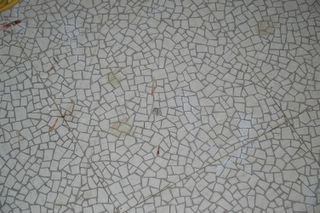
started back in on the demolition today since we'd gone as far with the new floor as we could. We uncovered what may very well be the original kitchen floor...


...and are proceeding to tear it out. The toe kick saw has been great even if it's a little scary. If I had to saw all of the edges with the reciprocating saw I would lose the will to live. One draw back is that it doesn't get into corners very well. And, neither does the Sawsall.


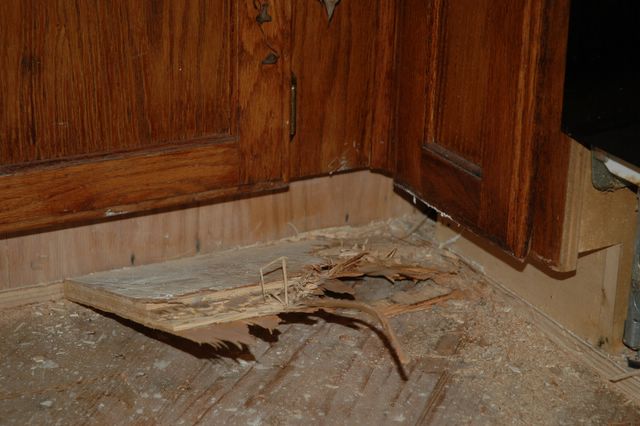
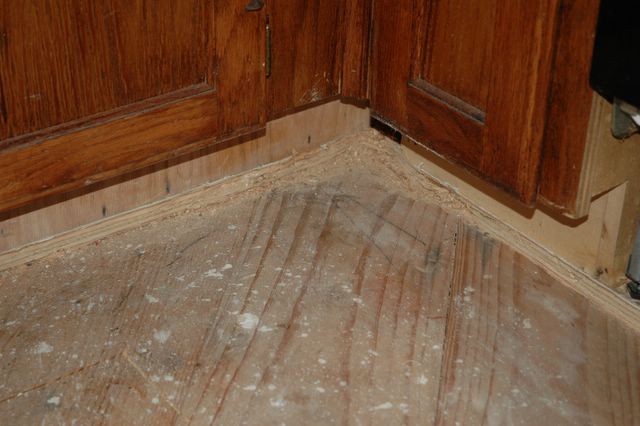
Which meant that I had to chisel out the plywood from the inside corner of the kitchen cabinets. A time consuming process, but necessary and worthwhile...


Tomorry is son2's birthday, but we'll try to get the rest of the floor out between parties and church.