Tuesday, January 15, 2008

I'm going to learn to do this...

There was a time when one of the things a gentleman learned was how to cut dovetails for making drawers and other joints. Anybody that knows me will tell you that I'm no gentleman, but hand cutting dovetail joints is something that I have wanted to learn for a long, long time.

With some of the upcoming projects that the little bride is dreaming up for me, I guess now is the time. This is my third try. First attempt was crazy backwards and mixed up and nothing matched up. Second attempt was a mirror image of what I needed and the joint would not hold up. This is a picture of my third attempt and while not elegant or pretty, it is tight and effective and I think I'm on the right track.

Hand cut dovetail joint. (click the picture to make it bigger)

Saturday, January 05, 2008

Miter Saw Bench

(remember, click the pictures to make them bigger...)

As I've mentioned before, when we moved in we just threw everything into the shop and have never gone back to try and sort it out. Sure, working on projects can be a challenge when it's like this, but we've dealt with it one way or another. But with the new projects that the little bride is coming up with, bookshelves, kitchen cabinets, etc. I figure I'm going to have to organize and configure it as a "cabinet shop."

My first project towards that end is to clear some floor space and build a miter saw bench. I just figure this will pay dividends when it comes to production cutting. So this weekend we did just that. I built the framework last weekend and had the local home center rip a couple of sheets of 3/4" mdf in half for me. Today I put the top together. I think it's going to work out well.


Next project: my woodworking bench.

Thursday, October 11, 2007

Saturday, October 06, 2007

Deck, Phase II

Basically, phase 2 of the deck is complete. Sorry no "in-progress" pics, but this turned out to be one of the more stressful projects we've done so far. At least for me it was. First of all, I had no idea that the little bride intended to paint phase 1 like a circus wagon. But she did. Anyway, here are some photos to show what we did. (remember, pics get bigger when you click 'em)


Note the little doors under phase 1. Now the bride has a large storage area for her junk underneath.

Thursday, July 26, 2007

Weedeater Woes

I'm not ashamed to admit it. Well, maybe a little. But edging with a string trimmer has been a source of aggravation for me lo these many years. And it's probably due in no small part to me not knowing what I'm doing. I've stared wistfully at the guys doing the neighbors yards as they zip up and down the sidewalks and curbs with their string trimmers. I can't remember ever seeing one of them stop to fiddle with the string.

Me? The string breaks every foot or so and jams up so that I have to kill the motor and fish it out, most of the time having to re-wind the spool. It got so bad that I finally gave up and quit edging all together. The man next door either felt sorry for me or was so embarrassed that he started edging my flower beds and fence.

I've seen those replacement heads at the garden center, you know, the ones where you put the little pieces of string in them instead of a spool. They tout things like, "5 second line change!" And I've been really hesitant to shell out twenty bucks to find out if they work or if you've just bought yourself twenty more dollars worth of aggravation. I still can't help you with that one because I didn't buy one of those.

I did run across a little blurb on-line the other day about a father-son team down in Texas that were experiencing the same frustration as me and invented a better solution. I read reviews about it on their blog and was impressed with how impressed everyone seemed to be. They got me at, "We absolutely GUARANTEE YOUR SATISFACTION!!!" I couldn't wait to get down to Wal Mart to buy one.

Being late in the season, Wal Mart was either completely out, or never actually stocked the Pivotrim heads and the lady stocking the shelves in the garden department acted like I was crazy. But I was on a mission and I drove nine miles up the road to the Super Center in the next town. I looked and looked up and down the aisles and just as I was about to give up, there in the corner, turned backwards and kind of tossed aside, was a blister pack that looked promising. As I turned it around I realized that this may well be the last remaining Pivotrim head in the state of Arkansas. I took it to the cash register with trembling hands.

Now, all of the replacement heads claim that they fit 99% of all trimmers and they probably do. Pivotrim is no different saving that they claim to give you more hardware and therefore more options for, I guess, more different trimmers. Sheesh, I don't know. All I know is that when I went to put this one on my Weedeater, nothing they provided looked like it would work. The package boldly states, "problems? No need to return to the store, call our toll free number..."

Yeah, right. On Sunday afternoon? Oh well, I dialed the number and it was immediately answered by one of the inventors. He confidently told me exactly what to do in a very clear and concise manner which made me immediately suspicious that as soon as I got off the phone I would realize I had been had and he would have taken his phone off the hook.

But surprise, in less than five minutes I had the head changed out, strung up and was ambling into the front yard to experience some serious, trouble-free edging. Now, I read all the claims about being able to go for up to four hours without a line break and guys bragging about trimming up a couple thousand acres of chain link fence with this thing, but remember, I'm the guy that can't go more than a foot or two without breaking the line.

I'll give it this, it made it nearly all the way across the front yard before my first break. But it does re-string in a matter of seconds and I was able to do the entire yard - all of the curb, both sides of the driveway and sidewalk and all of the flower beds with only four string changes. Much better than the twenty or so changes I normally experience and my blood pressure didn't burst my ear drums.

I was a little disappointed that the package said it would take .095 thick string, and I bought a package of that size string already cut into strips, but they wouldn't fit through the little holes. I did find that you can take the old spool of .080 string from the tap and go days and cut it into 10-12 inch strips quickly and easily which works just fine and I'm sure is cheaper than paying four bucks for a little tube of strings.


Go to their website, check out the video and see if maybe this might be a stress reducer in your life. It seems to be for me...

Saturday, June 09, 2007

The Deck - Phase I

You may remember that we put a door in the back of the house where a bedroom window was originally. That necessitated building a porch to get down to the ground about four feet below. This seemed satisfactory for a year or so. And then the bride got the itch. "I want a deck," she said. So we started to dismantle the railings on the porch...
(don't forget you can click on the pics to make them bigger.)
...began to frame up a deck...


...and started laying the flooring. I decided to lay the flooring on a 45 degree angle so that it wouldn't look so much like an afterthought as it transitioned from the old porch structure. I think once it's all stained the same color it will look like it was always there.


Next step was to trim off all the uneven boards and start on the railing.

The bride picked out the style of railing she wanted, and it was up to me to figure out how to make it work...


I think it looks pretty good.

Now it's time to relax...

Uh oh, the bride has informed me that this is phase I of the deck construction. Phase II will be a lower level deck... sheesh, it never ends. Stay tuned.

Thursday, March 01, 2007

Saturday, February 10, 2007

The den in our house was remuddled sometime in the seventies. Which left us with a legacy of avocado green shag carpet and this lovely brick fireplace with the wormy wood mantle.


Recently, a friend salvaged a terrific Victorian mantle from an old house they were tearing down in a nearby town, and I acquired it from her. So we began the demolition of the old mantle to make room for the new.


First, I had to cut the supporting bricks from each side of the mantle with a chisel.


Then, I had to saw off the old slab board as flush as I possibly could with my reciprocating saw. This turned out to be a bone jarring experience and painfully tiring to boot.


After which I was left with a roughly cut board that wasn't quite flush with the bricks it was embedded in.


So, I cleaned up the rest with a wood chisel. It made a big mess, but got the job done. I'm certain that at least nine of you out there are thinking of easier ways I could have done this, but it's too late. You should have said something sooner.


Then, I covered the corners with 1x6's which I routered a bead across the top to look a little more finished.


The bride caulked up all the seams and nail holes, and we're ready to prime and paint. Remember, clicky the pictures to get a closer look.


Saturday, June 10, 2006

Shop Matters

When we moved in, we pretty much just stuck all of the tools in the shop, figuring we'd organize it later. Well, it's been two years and we've got the house fairly liveable so I guess now is later.

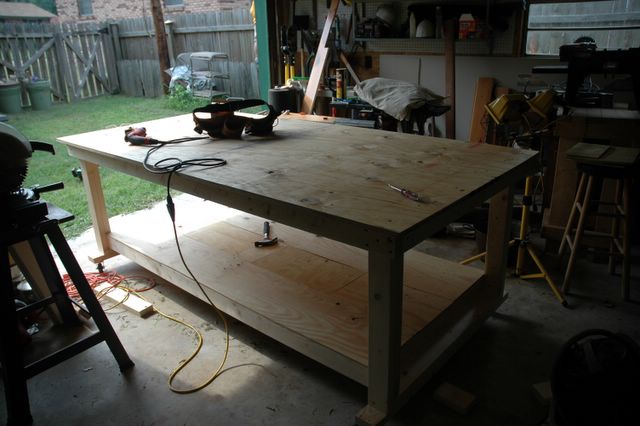
My first project is a work table. Recently, I had the privilege of getting to work with some real cabinet makers, and I really like the work tables in their shop. I mentioned that would be my next project and Rick told me that I should consider leaving a one and one half inch lip around the top to clamp things. So, I framed up this table today. It's on casters so I can roll it into place and lock them down.

Tomorrow, my friend Bill is going to take me to get a sheet of plywood for the top. (remember, click on the pictures to make them bigger...)


table sans top

And, after the plywood is delivered, the table with top...

Sunday, April 09, 2006

Floor Nailer - The Circle Is Complete

When I started looking for a floor nailer last year to do the tongue and groove flooring in my house, I checked the tool websites and got the prices for new -- wow!

So, I went to eBay to look at used ones. I found the Porter Cable nailer listed several times on eBay, one of the more common ones, and decided to do my due diligence and research what folks thought of it. I've been happy with the brad nailer I bought from Porter Cable, and this floor nailer got good reviews too. So, I was going to go back and do the "buy it now" on the $400 version. Except that during my research I found Coastal Tool dot com who had it for sale at $380. So, I figure I would email the seller on eBay, inform him that you can get them brand new for $380 and see if he would take less.

But before I could get back, it had sold. A quick search of completed items revealed that more than eight of them had sold in the last couple of weeks for $400 or more.

I ordered the nailer from Coastal Tool. It arrived several days later, as promised, worked beautifully, and we proceeded to install our entire house in 3/4" heart pine floor over a period of several months. (we had to tear out the old floor first.)

So, having completed the floor, I put my nailer out on eBay. And, within a few days I had an email from a potential buyer telling me that you can buy them brand new for $380 and offering me $300. I got another offer for $330 a day later. I said thanks but no thanks to both of them and watched. And, lo and behold, it sold today for $395.00. Of course, I threw in all the leftover nails I had to sweeten the deal.

I hope the guy that bought it from me does the same thing when he's done with it! Just don't take any low-ball offers, dude.

Tuesday, March 28, 2006

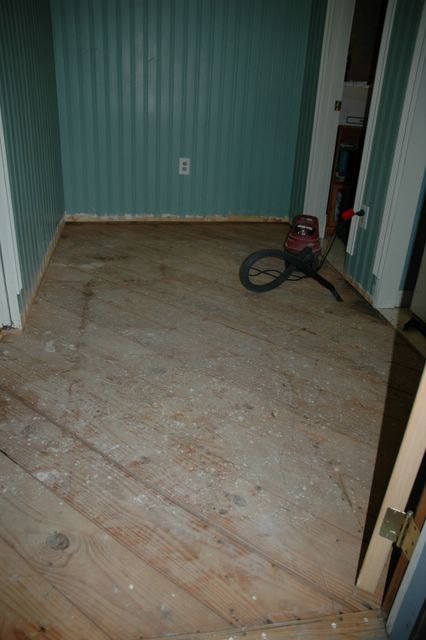
Craft Room Floor

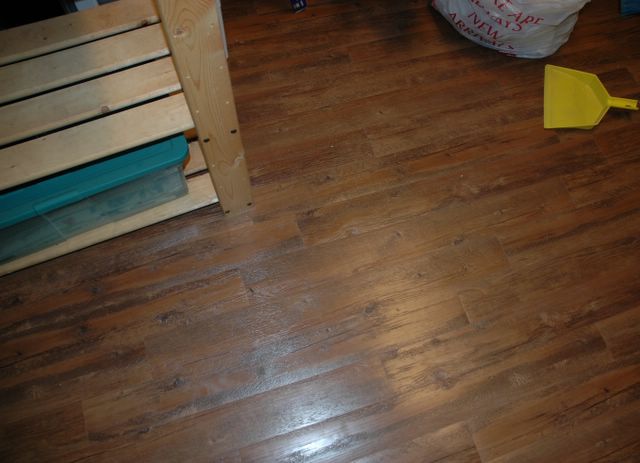
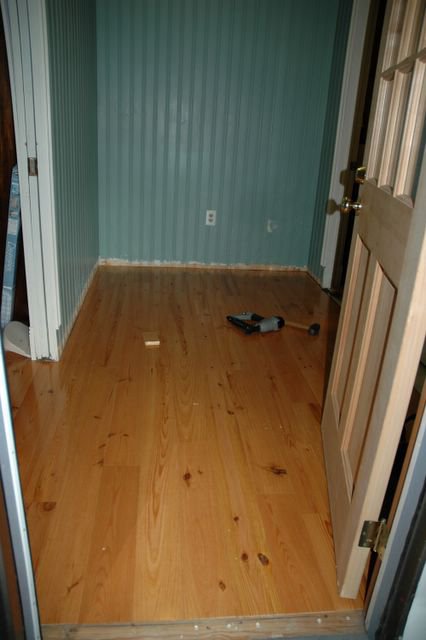
Not much new to show, but the little bride put new floor down in her craft room. I think it turned out pretty good for twenty-five cents a square foot...


Sunday, March 12, 2006

Book Case

I know that we've not updated in quite some time. Friends have pointed this out to me. Well, the one that checks up on this mess, anyway.

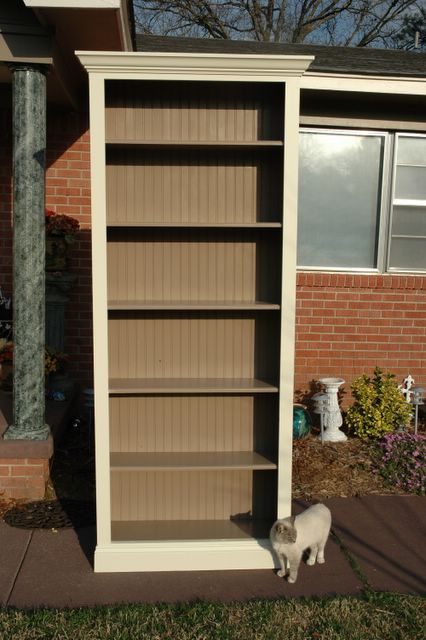
Truth is, we took the winter off, and now that it's warmer and staying light longer, we are looking at starting a few projects. The first one, since I think November, is this bookcase. I started it last Tuesday night, cut out the shelves and routered the edges, and got the basic form put together.


Trimmed it out and started painting it on Saturday. I have to admit, I was a bit worried about getting the crown molding right, but am very pleased with how it turned out.


Finished painting it today. It's ready to install in my office.


Sunday, November 06, 2005

Laundry Room Floor

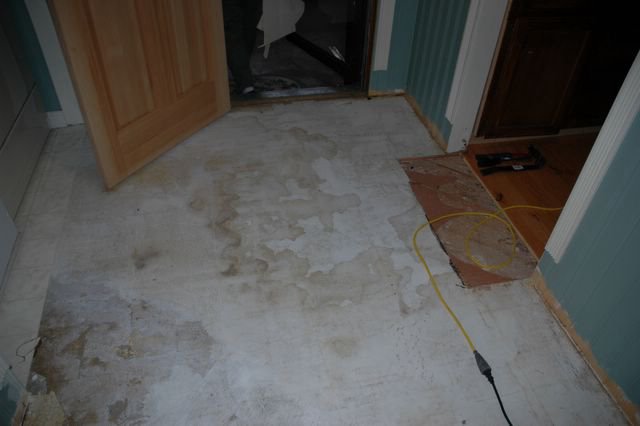
We finally got around to yanking out the floor in the laundry room. Kind of a necessity to keep the flow of the kitchen from looking too chopped up. At this point we have drawn the line (literally) at the area under the washer and dryer and in the little half bath. They will stay vinyl roll flooring for the time being.

We started out Saturday morning, pulled all the baseboards and started cutting the edges with the Crane toe-kick saw. I'm getting pretty good with this thing and it's not nearly as intimidating as it once was. What a lifesaver...


We had already cut a chunk at the doorway to fit the last board from the kitchen into the treshold. There's a pocket door between the two rooms.

Got everything stripped and pried up down to the sub floor and swept in preparation for the construction felt and new floor.

Layed the new floor...

...and re-installed the baseboards and trim.

I need to put in a new threshold under the back door and a couple of binder strips of oak at the transitions and then it will be complete.

Sunday, October 30, 2005

Immortality 2005

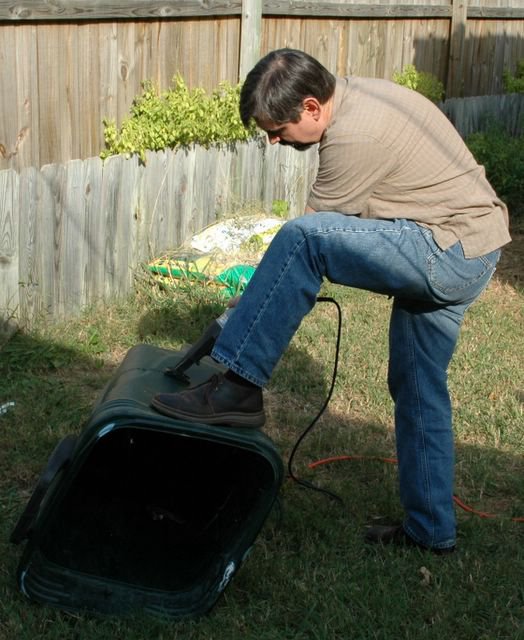
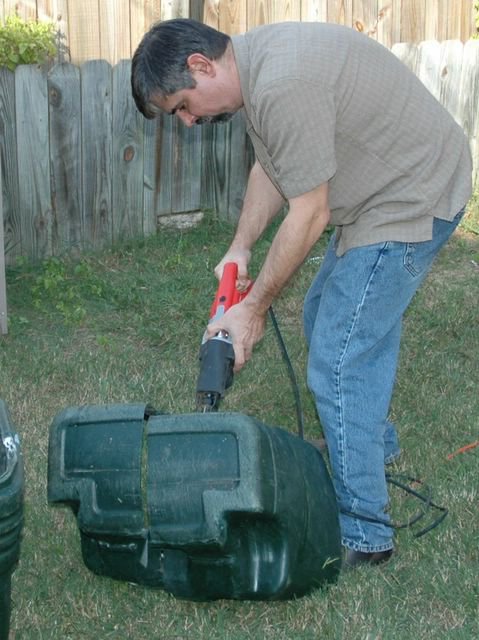
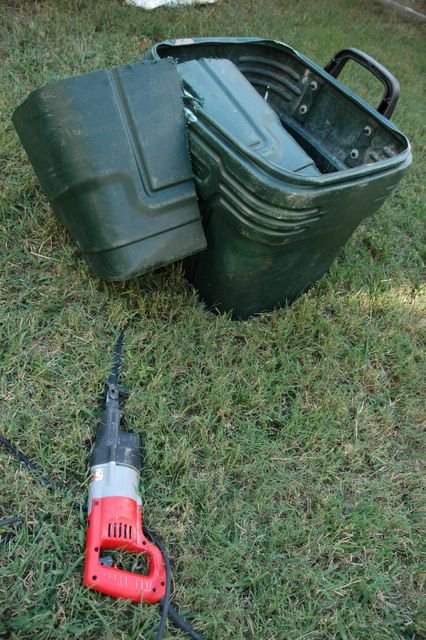
About a year ago, I posted about the immortality of garbage cans. And, how the only two ways I could figure to get rid of one was to leave it when you move (a good idea) or to take a reciprocating saw and cut it up into pieces for the garbage man sanitation department. (a little more difficult, but if you ain't movin'...)

Today, I finally got around to it.


Sunday, September 18, 2005

Learning to Cope...

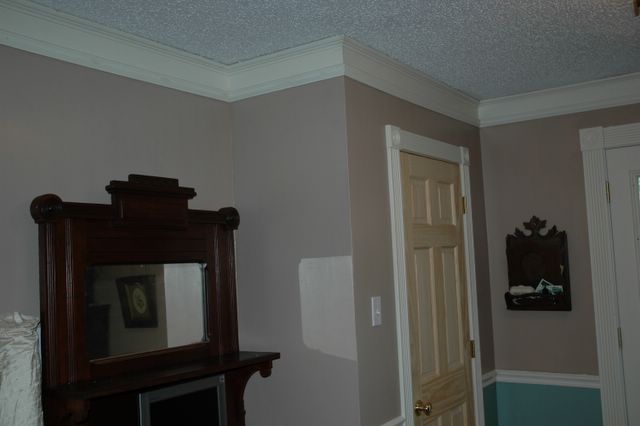
When we moved into the house, there was small, and I mean really small, crown molding through most of the house. Since we've always liked having picture rail moldings to hang our pictures from, the bride came up with the idea of adding the picture rail below the small crown leaving about a 2 1/2 inch space and then painting the whole thing to look like one piece of molding. It came out surprisingly well...


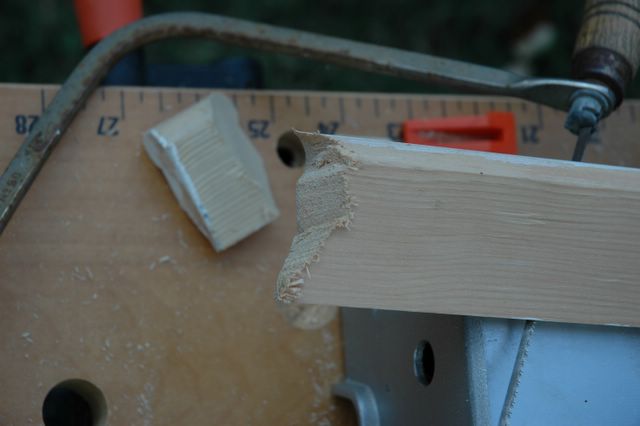
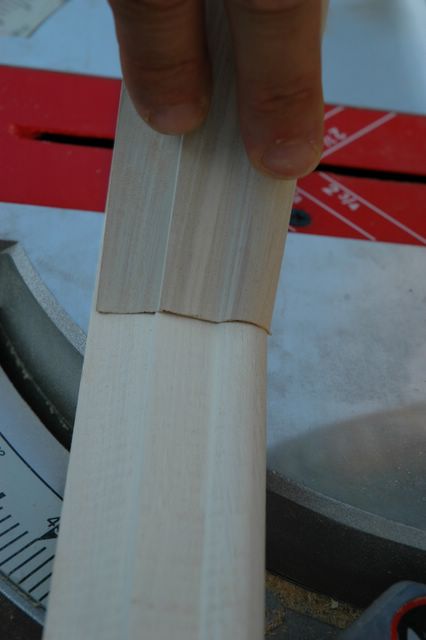
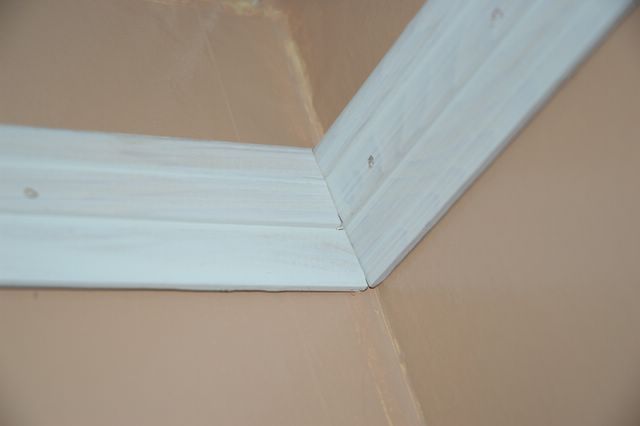
It's been kind of a challenge to cope the inside corners and miter the outside ones with the picture molding and also filling in the missing crown molding in the new added house parts. But I think I'm kind of getting the hang of it.


Once on the wall, it fits!


Which is a surprise, because I have a bad habit of cutting things a little too long the first time and then cutting them too short when I take them back to adjust them...

Wednesday, September 14, 2005

Where we been????

Well, we arrived at the point where we need to finish up detail work before we start on any more major projects. At least that's my point and I'm going to press it.

We've been filling nail holes, caulking seams, painting, putting gliders on the bottom of chair legs and finishing up trim work.

I'll post some pics when we've made enough progress to be interesting...

Monday, September 05, 2005

Floor Show

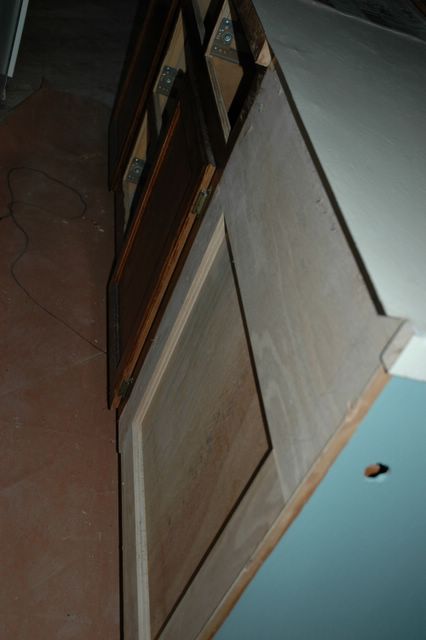
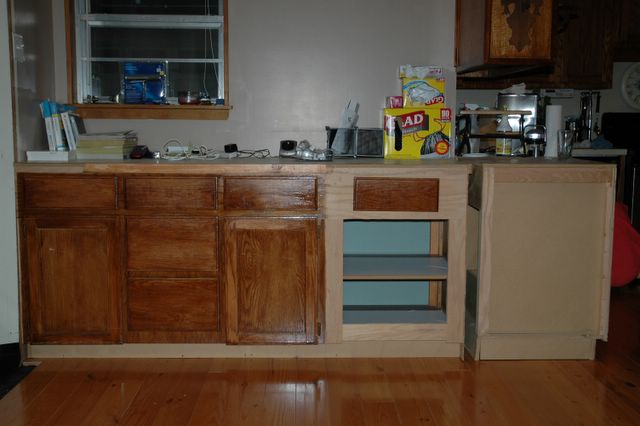
Since we're re-using a run of cabinets, that were between the kitchen and dining room, against the wall we found that some of the features of a double sided cabinet don't work so well in this application. Like the row of drawers and doors that ends in a blank cabinet back...


So, my little bride told me I needed to do something about that. And, that I needed to do something about it before we laid floor. So, I bent a couple of jigsaw blades and cut out a the blank side to make a drawer and a cabinet door opening...

Now, I told the bride that my cabinet skills are like really terrible and that she had a 50% chance or less of getting something decent out of it. As it is, the drawer turned out a teeny bit crooked, but I'm going to live with it. Yes, I am.

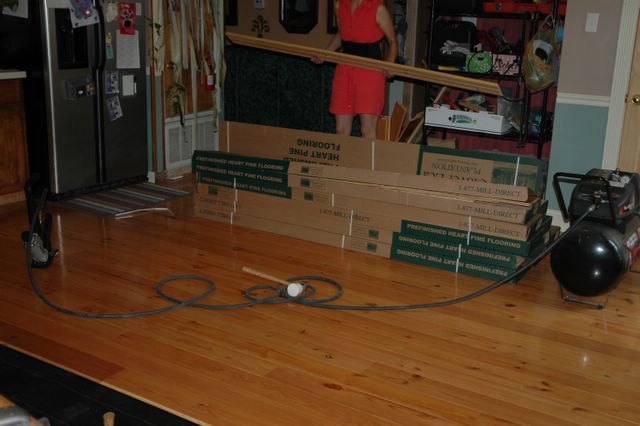
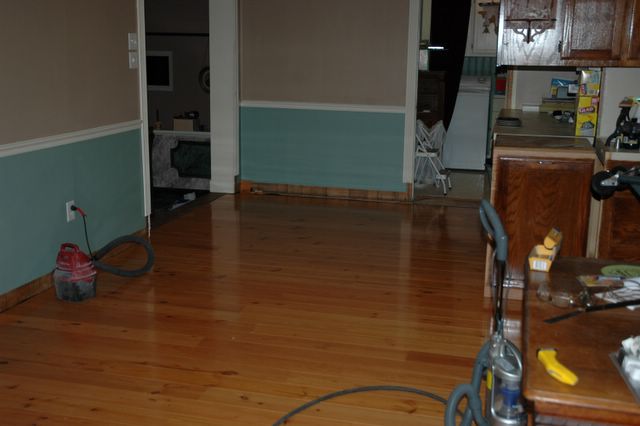
We started in laying floor, jockying loose cabinetry and kitchen tables,


...and, I must say, the results are very pleasing...